
Please note that any screenshots in this documentation may differ from the current release.
You will require the following in order to build ChrisPE -
ChrisPE uses the WinBuilder scripting language to automate a number of tasks to create a working WinPE. New commands have been implemented in PEBakery and this project is NOT compatible with WinBuilder.
Before running PEBakery please be aware that, in the ChrisPE project, the following project directory (and sub directories) will, if they exist, be deleted during the start of the build process (Note - %BaseDir% is a PEBakery variable for the folder from which the PEBakery executable PEBakeryLauncher.exe is running).
Sections in this page -
Pre-compiled PEBakery testbuild downloads are available here.
PEBakery version 0.9.3 beta3 (Build 20180225) is included in the project download. PEBakery is in active development and you may want to update to new versions as they are released. I recommend deleting all traces of the previous version before extracting a new test build to the directory containing the ChrisPE project files. Assuming ChrisPE is in the C:\ChrisPE\ path, delete the following files/folders -
Now extract the files from the updated PEBakery testbuild download to the ChrisPE root folder (the folder containing the Projects directory). Using the path from the example above, the project should now contain the following (the C:\ChrisPE\Database folder will be created when PEBakery is first started) -
The PEBakery Interface is divided into several sections -
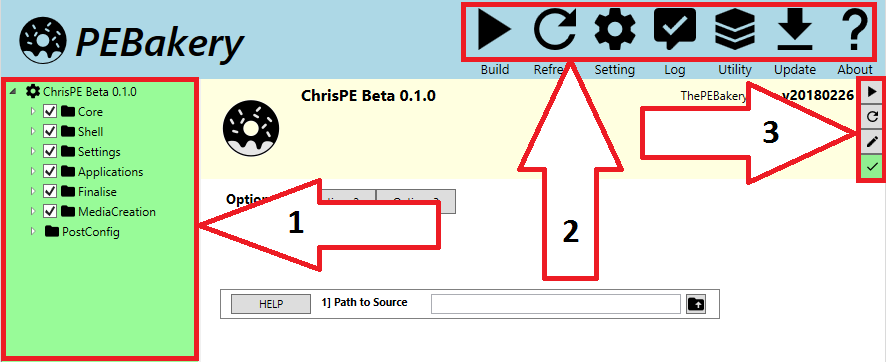
When PEBakeryLauncher.exe is first run, you should see a screen similar to the following (the folder tree on the left can be expanded so that individual script options can be selected or disabled as required) -
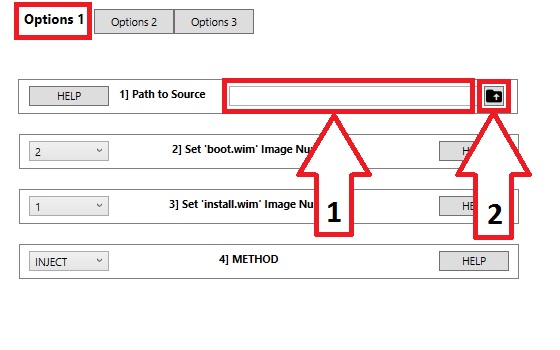
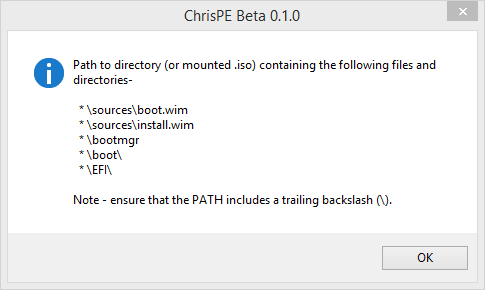
Set the path to your source files by either manually entering the path (1) or click on the Folder button (2) to set the path to your Windows Installation Media source files. Please note that if manually entering a path it must end in a backslash (\). E.g. D:\source_files\
A mounted Windows RTM .iso file is recommended as source. Alternatively extract the contents of a Windows .iso to a local directory. Set the path in this option to the root folder that contains the following files/directories -
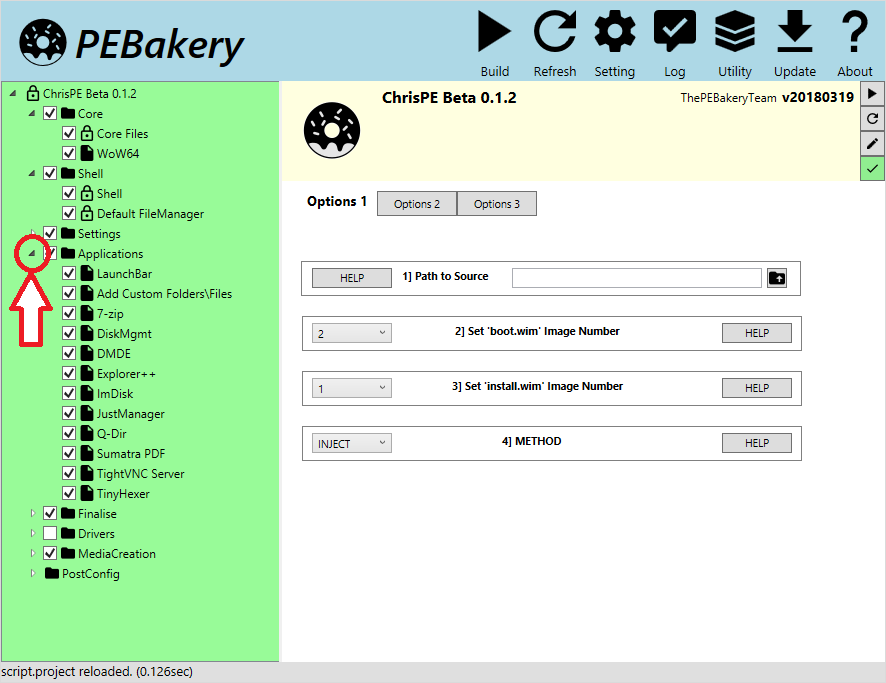
Expand the folder tree on the left and view and select individual project script options as required (refer to the Project Scripts section for details about all included project scripts) -
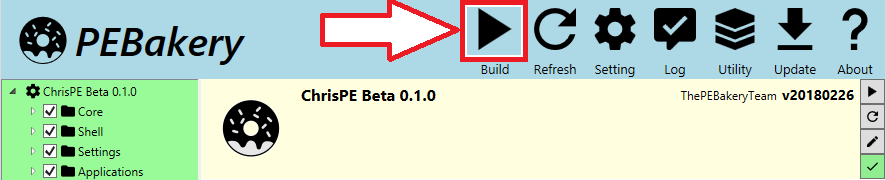
To start the build process, click on the Build button in the top row of buttons -
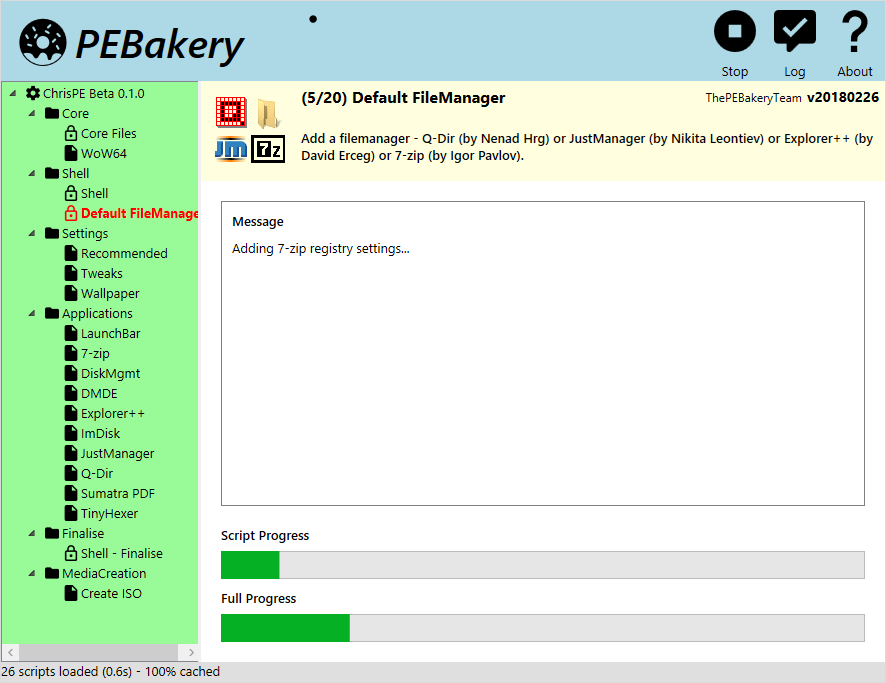
A progress bar will be displayed for individual project scripts as they are processed -
The source for project scripts can be viewed by clicking on the Edit Script button to the right of the script title bar (note - you may need to associate a default program to open .script files) -

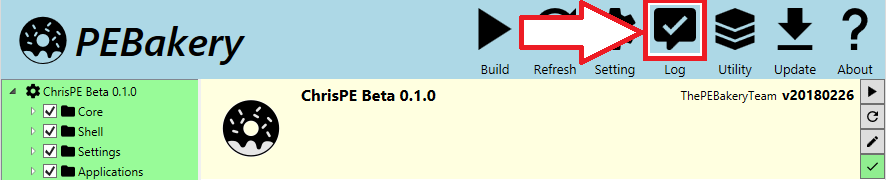
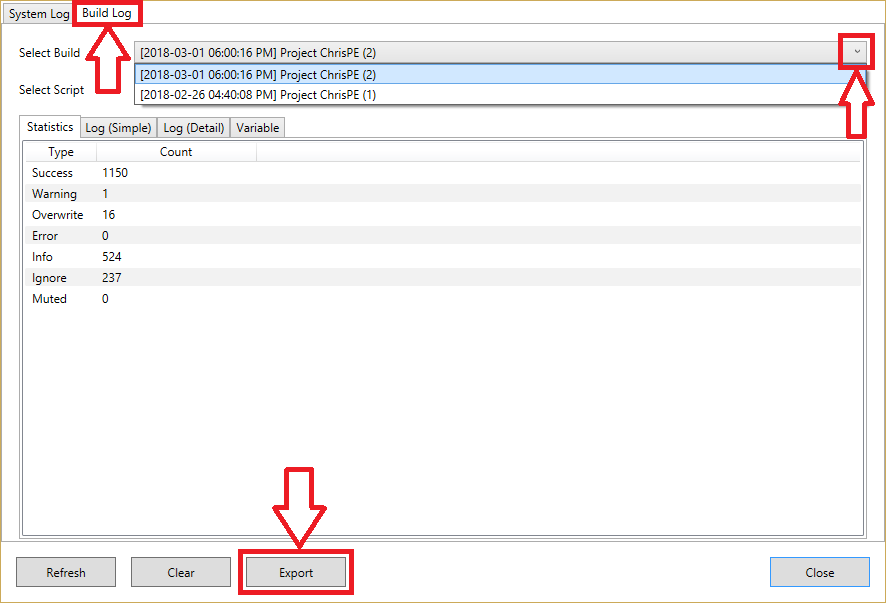
PEBakery has built in logging support with a database store containing logs for previous builds. These logs are very useful for troubleshooting problems with both the project and PEBakery. Logs can be accessed via the Log button in the top row of buttons -
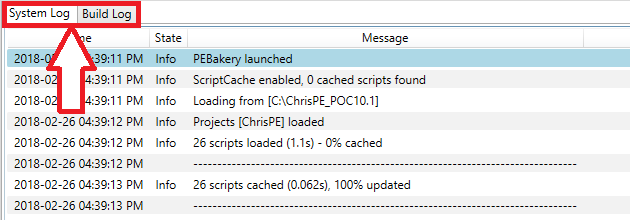
Use the tabs to toggle between System Log and Build Log pages - -
In the Build Log tab, use the pick list in the Select Build field to select the required build log and then click on the Export button to save the log file (.html and plain .txt files are supported) -
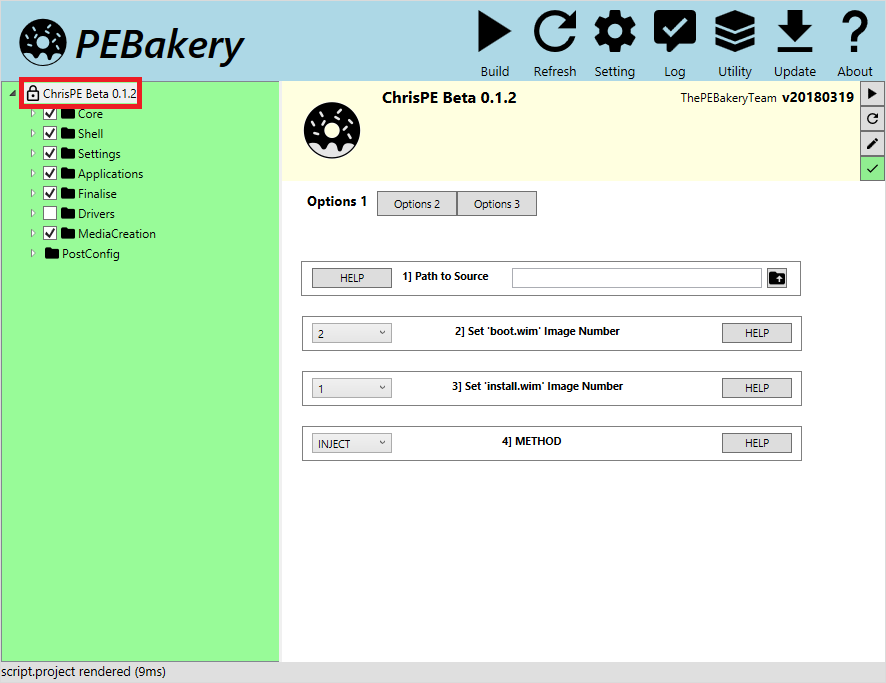
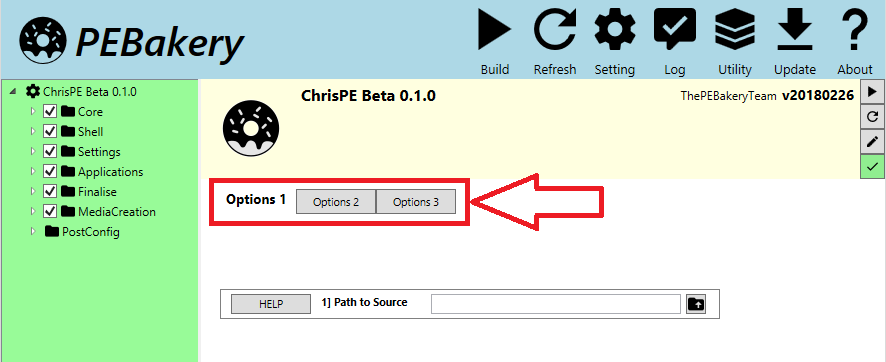
Individual PEBakery project scripts can contain a range of options. In ChrisPE the interface has been kept as simple as possible with options reduced to a minimum. A number of options are set in the main project script and can be viewed by selecting ChrisPE at the top of the folder tree in the left panel -
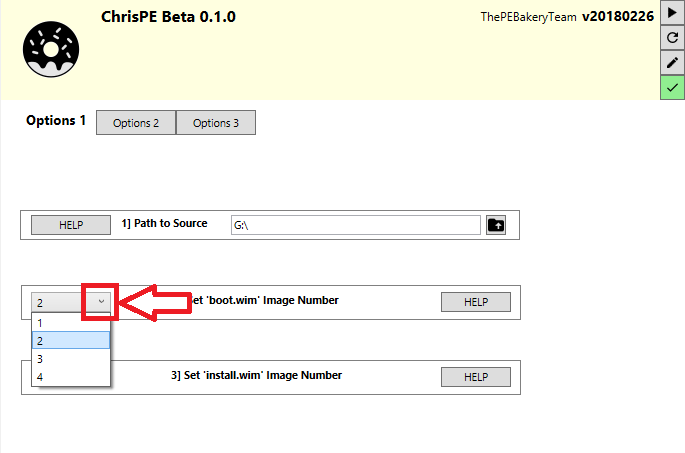
Multiple scripts, including the main project script, use pick lists with a range of pre-defined options -
A number of scripts in the ChrisPE project have a tab style interface with additional options -
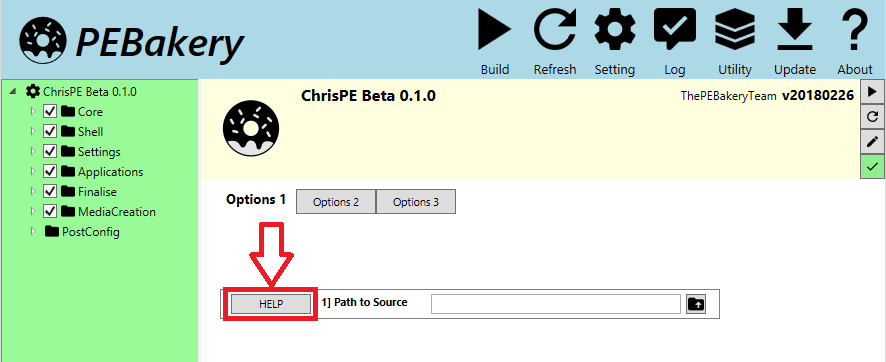
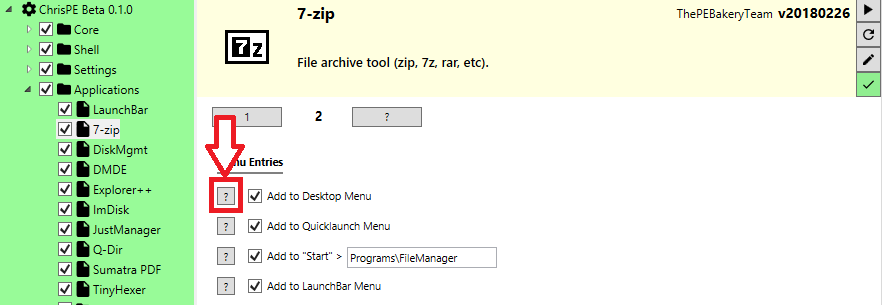
To see more information about any of the available options that can be set/changed in the ChrisPE project, click on the relevant HELP button -
Selecting HELP for this option will display the following information-
Some scripts use a ? help button -
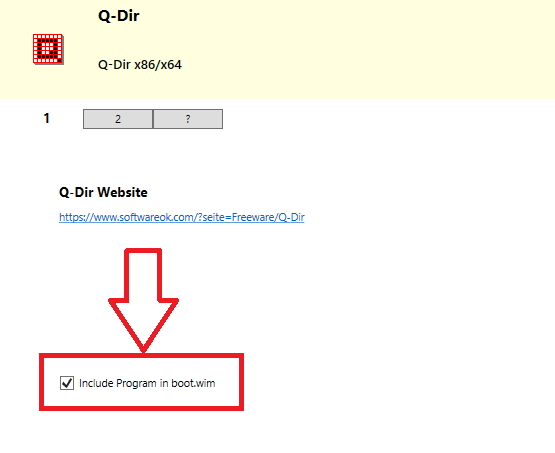
A number of Applications .scripts have an option to Include Program in boot.wim. For more information about this option see here.
ChrisPE supports custom menus. For more information about this option see here.

Document date - 21st March 2018